Looking at the option of converting your favorite bicycle into an e-bike? A hub motor conversion kit represents one of the easiest inroads into the world of e-mobility. It enables you to enhance your beloved and well-seasoned bike with a motor without breaking the bank. Unfortunately, the do-it-yourself strategy comes with some substantial compromises when it comes to the final cost and expected performance. The following document outlines the main advantages and disadvantages in five major dimensions, allowing you to answer the question of whether a conversion kit is a worthy investment.
1. Cost-effectiveness vs. Financial Caveats
The most obvious advantage of a hub motor kit is the price, as using one is likely to be less expensive than purchasing a completely new e-bike. However, the overall cost of a conversion should not only include the initial price of the kit. Smaller costs often add up, and the time spent in the process also has value. Therefore, you will need to balance savings with unforeseen expenses and analyze the final cost.
Pros and Cons
Lower initial investment is probably the best selling point of an e-bike upgrade. The fully assembled kit containing the motor, the wheel, the controller, the throttle, and the battery can end up being much cheaper than a pre-built e-bike. You are using the asset you already own. While building a new bike has to be disassembled and reassembled from scratch, with a conversion kit, you reuse most of your existing parts like the frame, gears, etc. The bicycle after the upgrade, most arguably, is fundamentally a new bike with a new name under the sun.
Cons: The need for specialized tools. The total cost of the project can end up incredibly high, counting the cost of specialized tools that you initially did not have – a crank puller, a freewheel remover, etc. There is also potential incompatibility beyond the relatively simple modifications – brake levers, gear shifters. Maybe after throwing the second half of your wallet on parts, you’ll come to realize that your gearing system is not going to cooperate with your new battery.
The Money-Saving Tip:
Envision your assembly process before purchasing any elements. Take an inventory of what you already have and what you’re potentially going to need to buy and do the same for the tools required. Watch several videos on a similar model installation process – chances are that you’re going to figure out what other universally necessary parts and tools you might need.
2. Performance Characteristics and Ride Quality
The e-hub fundamentally changes the way your bike rides. Although it has a simple, strong design, it is lacking the elegance of the more integrated systems. Depending on whether your drive is in the front or the back wheel, it influences how your bike grips and drifts. These performance trade-offs and compromises need to be analyzed prior to the investment to ensure the final project meets your requirements – whether riding on flatlands or up small hills.
Front Hub Motors:
- Pro: It is the easiest to install, as it doesn’t involve the drivetrain and does not impact the gears and chain.
- Con: Due to the weight that is added to the front wheel, it may make the steering feel heavy. Also, less weight over the wheel can cause the front wheel to “spin out” on loose or steep surfaces.
Rear Hub Motors:
- Pro: Provides a more natural ‘pushing feel’. Also, the rider’s weight is already over the rear wheel, so the weight placement works well with this motor.
- Con: Due to the gears being in the back, this makes the installation procedure a bit more complicated as you will need to transfer your cassette to the new wheel.
Overall Ride Quality Con:
Basically, one wheel has extra weight, which can feel unbalanced and strange compared to a mid-drive motor. Especially when the power is delivered, this can be awkward and jerky. Note that most basic kits work on a simple system that reacts to revolutions per minute, called a cadence sensor. More sophisticated variations will calibrate your pedaling strength and not offer power that yanks you forward.

3. Compatibility and Integration Challenges
The hardest part of the process might not be the actual work, but finding out which kits will fit your bike and components. This is the greatest obstacle you face. Because so many kits are marketed as “universal”, this does not take into account the new and aging bike frame standards, as well as the various gear and brake systems. It is not an understatement to say that it's critical to avoid a situation where a kit is incompatible, the project fails, or the bike is made unrideable. The easiest step you can take is one of the most important: measure everything.
Key Compatibility Checks:
- Dropout Spacing: Measure the width between the frame dropouts that hold the wheel axle in place. This needs to match the wheel width of the hub motor. Common widths for front and back are 100mm and 135mm respectively, but other standards also exist.
- Fork Material: Never install front-hub motors in carbon forks. The torque will damage the fork end, ultimately leading to the fork breaking. Steel is the safest option.
- Brakes: Ensure that the hub fits your bike’s existing brake system. It will require a matching mount for a disc rotor. If your bike has rim brakes, the new wheel must have a compatible braking surface.
- Battery Position: You will need a suitable space on your frame to mount the battery pack. Most batteries go on the down tube. If your bike has a unique frame or has a lot of suspension components, then you may not find a size that fits.
| Component | Measure/Standard to Verify | Why It Matters |
|---|---|---|
| Dropout Spacing | Measure the inner gap (mm) that the axle fits in. | Incorrect fit can stress the frame or prevent wheel mounting. |
| Fork/Frame Material | Determine whether your fork is steel, aluminum, or carbon. | Carbon forks can break from high motor torque. |
| Brake Type | Check for disc (6-bolt, center-lock) or rim brakes. | The hub and brakes must be compatible. |
| Bottom Bracket | Identify the type (e.g., Square Taper, Hollowtech). | The pedal-assist sensor must be compatible with the bottom bracket type. |
4. The Alternative: The Superiority of a Purpose-Built E-Bike

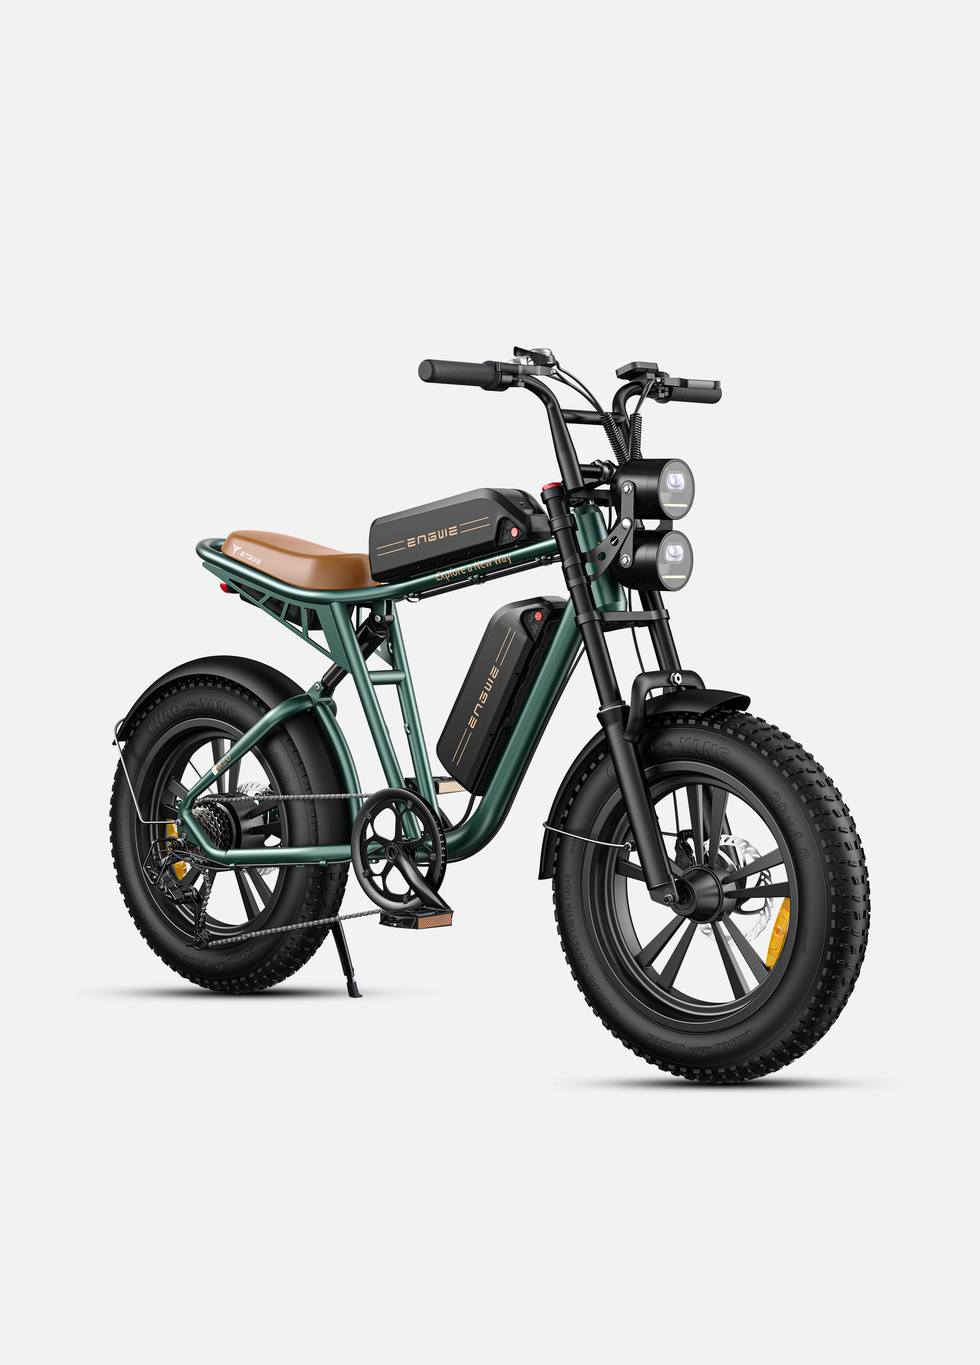
While a conversion kit does provide a path to electrification, it usually does so at the price of compromised performance, reliability, and safety. A purpose-built electric bike, on the other hand, allows the consumer to enjoy their riding experience in a more cohesive and satisfying way; from the outset, every component is engineered to function in perfect harmony. A brand like ENGWE manufactures professionally designed and tested machines that eliminate the risk and guesswork of a DIY project. Take the ENGWE M20, for example, an adventure-driven electric bike purpose-built for optimal comfort and control on any terrain. Unlike a converted rigid frame that can only guarantee a straight ride, the M20 offers exceptional comfort thanks to its integrated dual suspension, front hydraulic shock, and rear air shock absorber. The M20 blurs the lines of battery-based range anxiety experienced with a converted kit's battery, with an optional 48V 26Ah dual-battery system that provides double the range of 75km + 75km.

Here are some of the key features of the ENGWE M20:
- Integrated Power: 55 Nm torque brushless motor integrated into the frame.
- Exceptional Range: Dual-battery (48V 13Ah x 2) provides 75km + 75km in PAS mode 1.
- Superior Comfort: Full dual suspension system for better riding comfort.
- Unmatched Stability: 20 x 4.0-inch triple-layer fat tires.
- Guaranteed Safety: Dual disc brake system with 160mm rotors to stop quickly and safely.
- Quality Construction: Lightweight 6061 aluminum alloy frame, Shimano 7-speed drivetrain, and a clear LCD display.
Selecting a purpose-built e-bike such as the ENGWE M20 implies that you are choosing a thoroughly tested, certified, and supported system. Long-term reliability, maintenance, and user responsibility become essential considerations. Once you have assembled your conversion e-bike, you are the person in charge of it. You, rather than a single manufacturer, are responsible for its maintenance, warranty claims, and particularly its roadworthiness. The quality of components in motor and battery kits may differ significantly.
- Con (Conversion): Voided Frame Warranty. Creating an e-bike with a motor kit will void the frame manufacturer’s warranty.
- Con (Conversion): Do-It-Yourself Troubleshooting. When something goes wrong, such as the controller’s position or the battery’s health, it will be your job to locate and unravel the issue.
- Pro (Conversion): Modularity. The good thing about conversion kits is that when a single piece fails, such as the throttle or the controller, it may be replaced separately.
A Crucial Safety Note: Torque Arms
A hub motor can create so much torque it can damage or rip the dropouts off. Particularly on front motor installations, a torque arm is a crucial safety component that braces the axle against the fork to prevent it from spinning out while riding.

5. Frequently Asked Questions
Q1: What is the biggest mistake people make with conversion kits?
A: The most frequent and expensive mistake is ordering a kit before accurately measuring their bike’s dropout spacing and bottom bracket, resulting in a kit that won’t fit.
Q2: Which is better to have – rear or front hub motor?
A: It depends on what is more important to you. Front hubs are easier to install; however, rears offer better traction and a more natural riding feel. For most uses, rear hub kits are recommended.
Q3: When should I buy a complete e-bike instead?
A: If long-term safety, a comprehensive and easy-to-claim warranty, professional support, and a smooth ride with adaptive performance are more important to you than upfront costs, going with a factory-built e-bike is probably the right thing to do. As always, the final decision depends on your budget, technical ability, and desire for a polished riding experience.