Changing a flat tire on your powerful fat tire electric bike may look daunting, especially with the motor's weight and its connected rotating components. Nevertheless, this guide can disassemble these theoretical barriers for any rider. We break down this practice into a clear, easy-to-follow set of steps, so you are not wondering how to recover from any setback on your next trip. This includes everything. In addition to mental preparation, this section covers the equipment and key practices from start to finish, ensuring that you are fully prepared to carry it out. In other words, you will need to do it right. Moreover, by investing in a few fundamental tools and learning to handle them, you can save money and learn how to assemble them in situations when something is broken. Always look out for quality. A few decent devices are a better arrangement than many worthless ones.
1. Essential Preparation: Toolkit and Workspace
Essential toolkit checklist:
- Tire levers: Three strong tire levers made of plastic. Metal levers can scratch your rim.
- Wrenches or Allen keys: Most fat tire e-bikes require axle nuts, usually 18mm or 19mm, or a quick-release skewer. Check your model maintenance handbook or instructions for the accurate wrench size. A crescent wrench will work if you do not have the right size wrench.
- High-volume pump: Preferably, use a floor pump with an integrated pressure gauge. Fat tires hold a lot of air and require it to be pumped quickly, which will be tiring to do with a tiny hand pump.
- New inner tube or patch kit: Always have a backup inner tube that matches your tire, e.g., 26×4.0, 20×4.0. A patch kit will be useful for trivial punctures.
- Gloves: To keep your hands free of grease and grime.
Workspace and safety:
- Make sure you have a clean and bright workspace.
- If you own one, use a bike stand. Otherwise, carefully flip the e-bike upside down and rest it on the handlebars and the seat. Put a soft cloth beneath the handlebars to guard the display and the controls.
- Crucial note! Switch off your electric bike and remove the battery prior to the initiation of any repairs. This will prevent the motor from activating accidentally.
2. Navigation: Front Wheels vs. Rear Hub Motors
This is where electric bikes differ most from standard bicycles when removing the wheels, especially the rear wheel containing the hub motor. Although the procedure is clear, it requires unique attention to wires and connections. A helpful pro-tip is to take a quick photo with your phone of the brake caliper and motor cable configuration alignment before beginning; this can save you a lot of head-scratching during reassembly. The front wheel resembles a traditional bicycle; however, the rear wheel connects directly to the e-bike’s power system, meaning a little more caution is needed. The front wheel removal is typically more natural and the back one more delicate. Depending on the type of brake, the front brake may be a disc or a regular type.
Steps:
- For disc brake models, slightly loosen the brake caliper bolts or cautiously remove the wheel.
- Open a quick-release lever or use a wrench to loosen the nuts on both sides of the axle if nuts hold the wheel.
- Take the wheel out vertically from the front fork dropouts.
Rear wheel removal is different and requires more care. Hub motors have an additional step of motor cable disconnection. Other than that, it is a standard wheel. The cable is the most critical component. It is a thick cable with connectors that are often connected near the rear wheel and has a threaded collar with arrows for alignment.
The steps are as follows:
- Unscrew the wiring connector and loosen the axle nuts. Note the location of any washers between the nut and the dropouts.
- If you have disc brakes, remove the caliper pin and guide the rotor out of the caliper.
- Gently maneuver the wheel lower and out of the dropouts, making sure a similar pattern applies to the wheel as to the front with parts included.

3. Tire and Tube Service – the Heart of the Repair
When the wheel is off your e-bike, you know that the brunt of the work is about to start. At this point, the tire needs to be removed, the flat’s cause identified, and a determination made on whether you’ll patch the tube or use one of the spares. A cautious inspection can save money by preventing repeated flats. An exact example of this involves a little shard of glass or a tiny thorn that’s embedded inside your tire tread. If not eliminated during this inspection, it will immediately puncture your brand-new tube once it’s reinstalled. So slow down, and do it right.
Tire Removal and Inspection
- Ensure the tire is completely deflated by depressing the pin within the valve stem.
- Push one side of the tire bead toward the center of the rim, making it slack enough to tuck inwardly without resistance.
- Slide the tire lever beneath the bead and hook it on a spoke. A few inches away, insert another lever and pry a segment of the bead up and over the rim wall.
- Slide the tire lever along the rim, prying more of the bead off until one side is completely free.
- Get the inner tube out, starting from the side opposite the valve opening.
- Remove the other tire bead from the rim.
Crucial Inspection:
Glide your fingertips carefully along the interior of the tire to check for any sharp elements, and examine the rim tape. It must be secure over the spoke holes and not be ripped or out of place, which could expose sharp spoke ends.
To Patch or Replace:
To locate the hole, slightly inflate the old tube and listen for escaping air, or submerge it in water and look for bubbles. Patch kits work well for tiny pinprick holes, and they are a reasonable fix. These are generally quite affordable and simple to use. While procedures vary, the basic steps involve roughing the area with sandpaper, applying vulcanizing fluid, and pressing the patch on firmly. For large gashes, blowouts near the valve stem, or for maximum reliability, replacing the tube is the best approach.
4. Gearing Up: The Right Tires and High-Quality Accessories
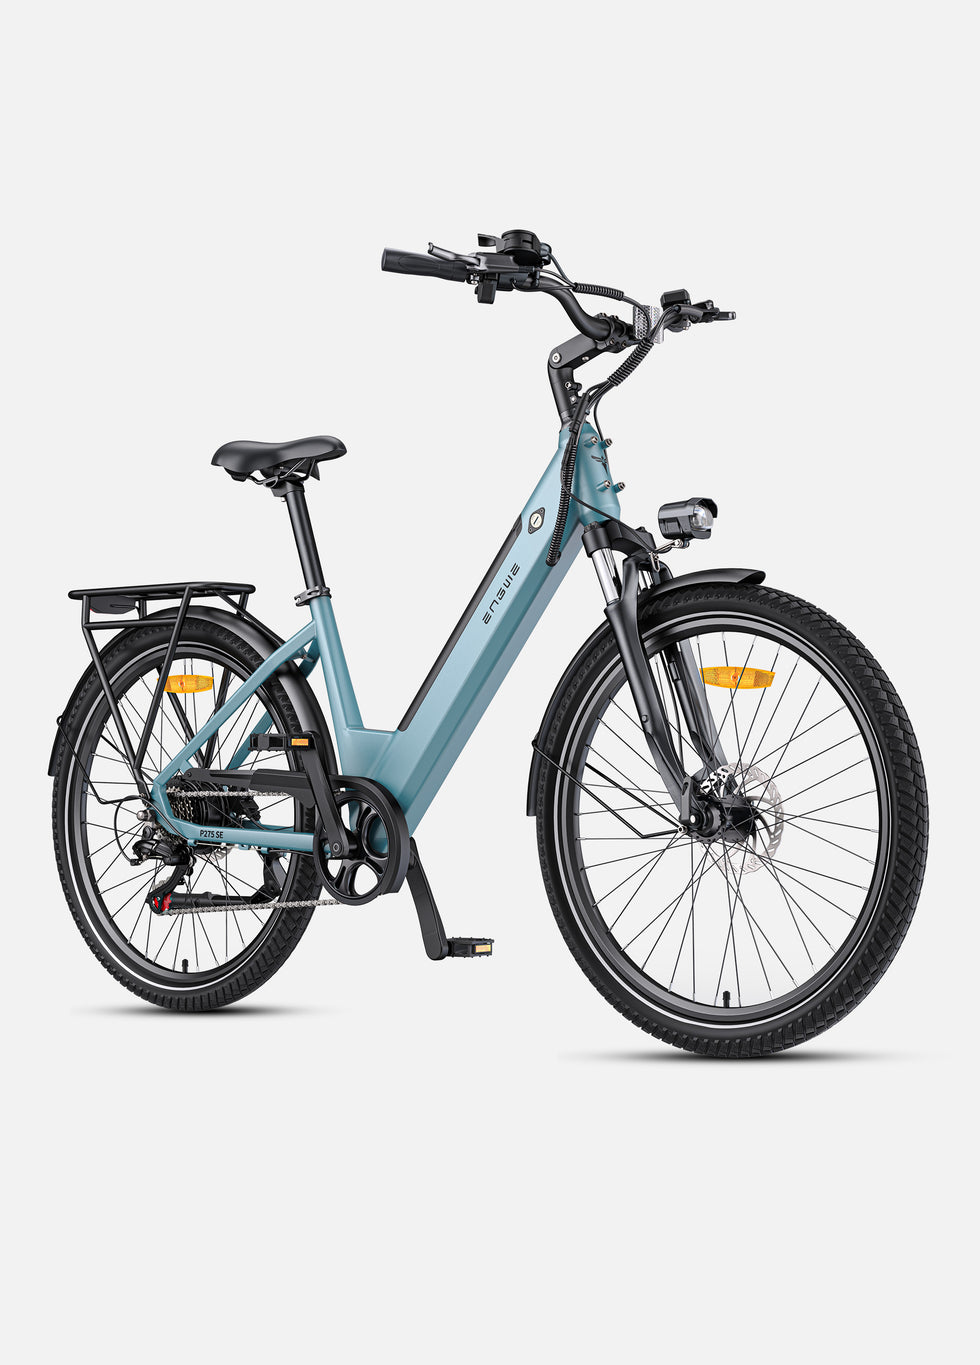
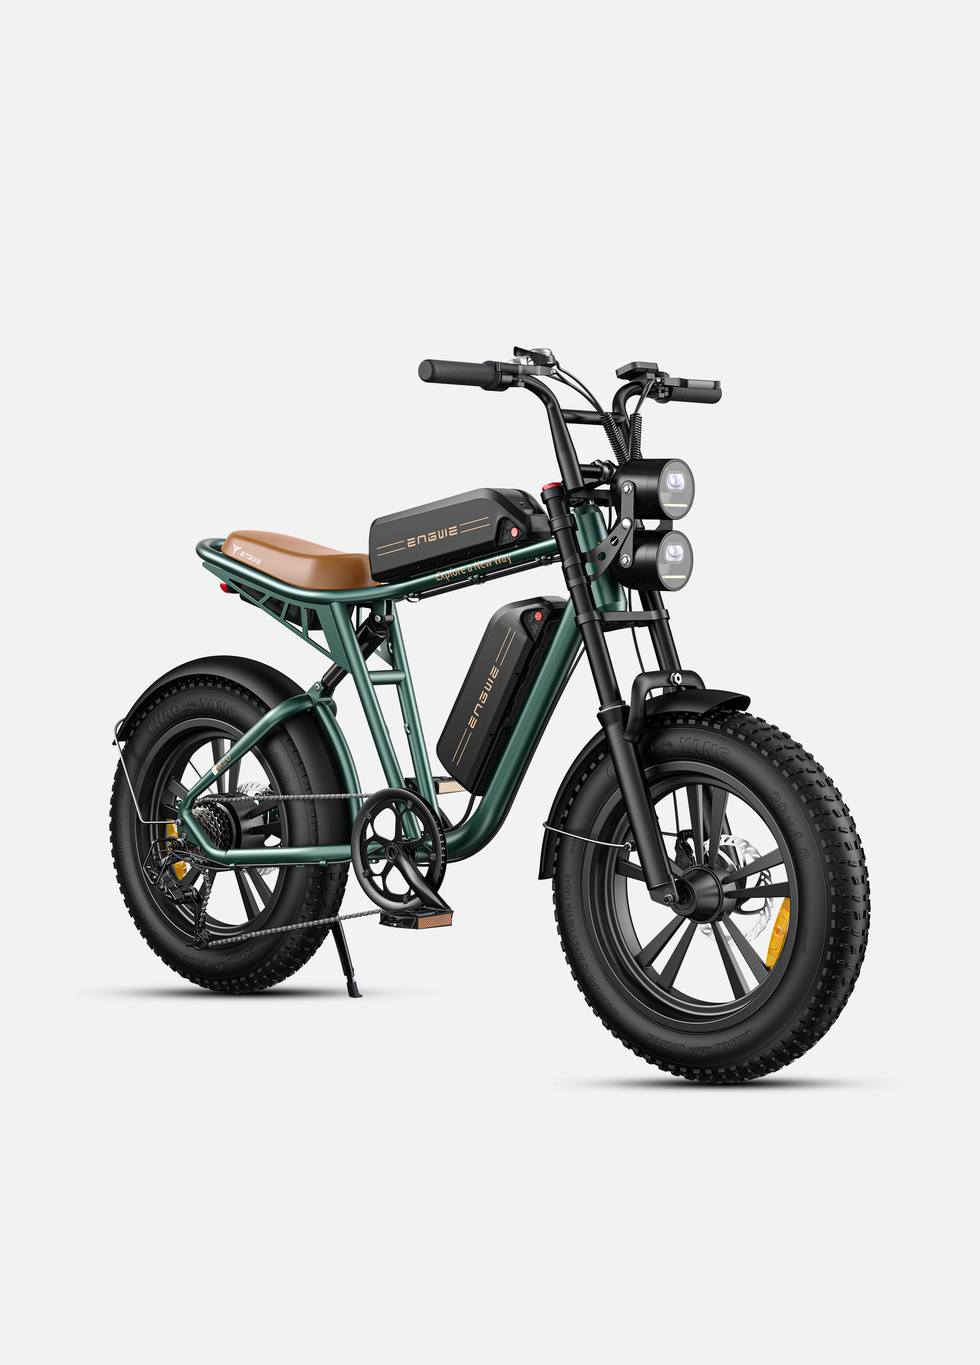
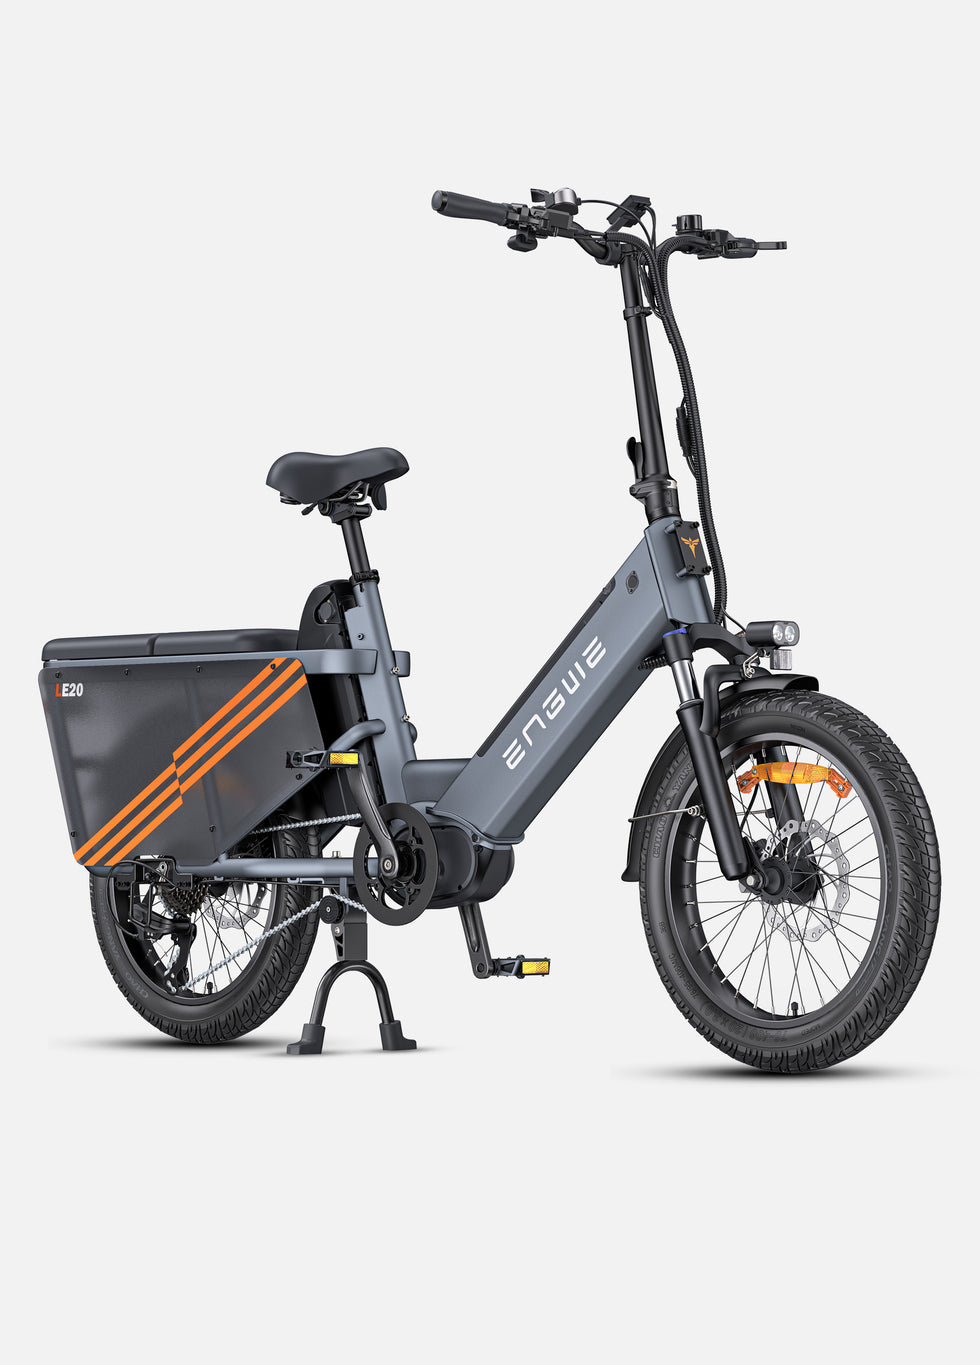
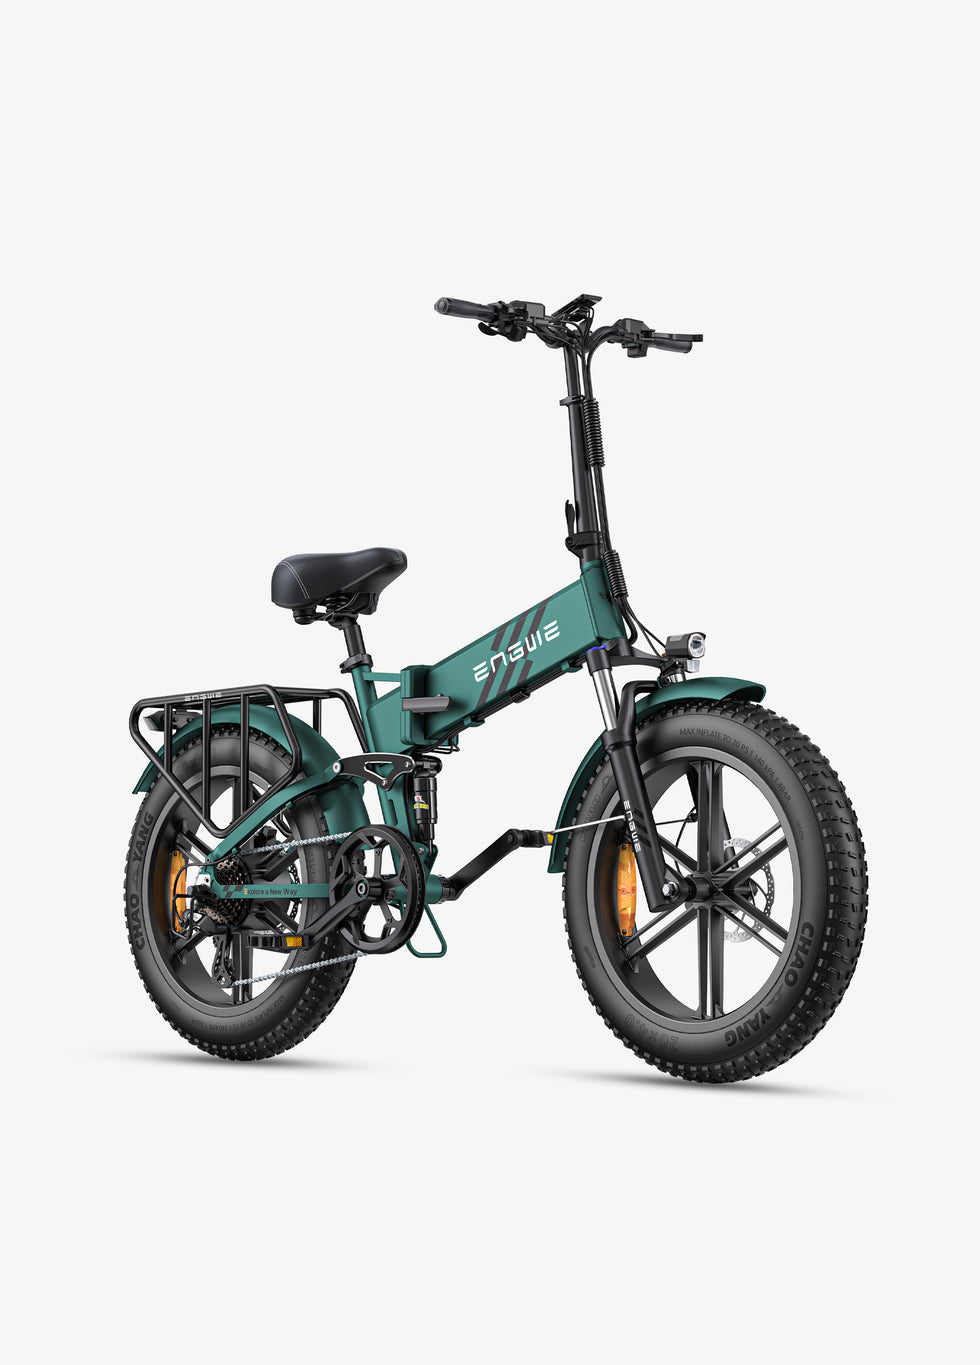
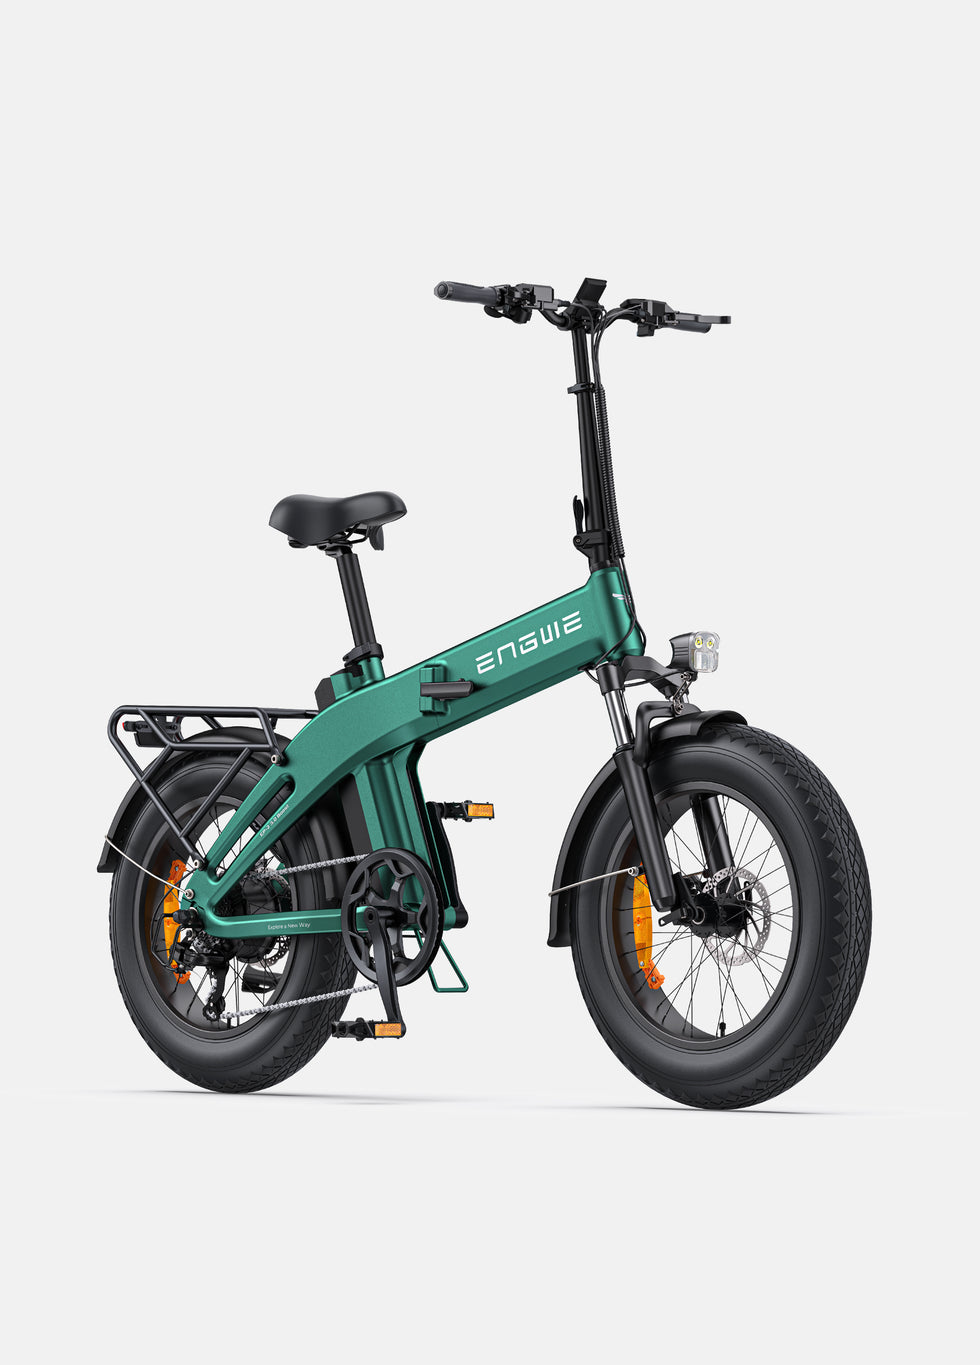
Selecting the correct replacement tire and tube is essential for both performance and safety. A fat tire e-bike may have a variety of tread patterns, from slick road tires to aggressively knobby off-road tires. When choosing a replacement, ensure it is the same as your rim diameter and width. For an integrated and consistent experience, seek components from high-quality brands. ENGWE is a prominent fat tire E-bike manufacturer that not only designs great E-bikes but also a complete set of accessories. These accessories come from a genuine manufacturer and provide excellent support for your riding adventures.
ENGWE Accessories for a Better Ride:

Official ENGWE Accessories: Click here to find a rich variety of accessories.
Buy Now- Fat Tire Fenders: Keep you clean and dry and are a must for all-weather commuting.
- Heavy-Duty Rear Racks: Perfect for carrying cargo, from groceries to camping gear.
- Spare Batteries: Extend your range and make sure you always have power on a long ride.
- Comfort Saddles: Provide you with a smoother ride by upgrading your seat.
ENGWE Official Accessories: Here’s a link for the rich variety of accessories.
Useful Accessories for Maintenance and Utility
| Type | Primary Function | Benefit |
|---|---|---|
| ENGWE Portable Air Pump | On-the-go Tire Inflation | Compact and powerful, you can adjust pressure or fix your flat away from home. |
| ENGWE Bike Tool Kit | All-in-one repair solution | Essential wrenches and tools for most roadside adjustments. |
| ENGWE Heavy-Duty Rack | Cargo and Pannier Carrying | Perfect solution to carry a few spare tubes and tools without a backpack. |
| ENGWE Fenders | Mud and Water Protection | Your drivetrain will be cleaner, and your chain and chainring maintenance will be lower. |

5. Reinstallation and Final Safety Checks
Reinstallation, even of the most straightforward mechanical components, is just as important as removal. For example, a tire that is not seated properly will cause a bumpy and rough ride and may result in another flat. In the worst-case scenario, if your wheel is not installed correctly, it may detach when under heavy load, such as during high-speed riding or stopping. Aligning your brakes, setting your chain tension, and connecting your motor securely are all critical points. It is a vital, final, non-negotiable step you must complete before riding with the absolute knowledge that your hard work is safe and effective.
Install the new tire and tube:
- Install one bead of the tire onto the wheel rim.
- Pro-Tip: Fill the new tube with just enough air to give it shape. This will prevent it from getting twisted or pinched under the tire during installation.
- Insert the new tube, starting with the valve into its hole in the rim.
- Begin pushing the second bead into the rim with your thumbs, starting directly across from the valve. Continue around both sides toward the valve. The last twelve inches will be difficult; use your tire levers carefully if necessary, ensuring the tube does not get pinched.
- Inflate to approximately 10 PSI and check that the bead is seated properly and evenly all the way around on both sides. If not, deflate and adjust.
- Once even, inflate to the pressure recommended on the tire’s sidewall.
Final installation and pre-ride checks:
- Guide the wheel back into the dropouts carefully, ensuring the disc rotor slides into the brake caliper.
- For the rear wheel, reattach the motor cable. Align the pins on the wire harness and wheel hub, then twist the collar firmly to secure it.
- Align the wheel in the dropouts and tighten the axle nuts firmly.
- Reinstall the chain if it was removed.
- Turn the wheel to ensure it spins freely and does not rub on the brake pads. Adjust the brake caliper if necessary.
- Squeeze the brake lever to verify it is functioning properly.
What is the correct tire pressure for a fat tire e-bike?
This varies greatly depending on the tire and terrain, but suitable ranges include 5-30 PSI. The maximum is shown on the tire’s sidewall. For road riding, use a higher pressure (20-25 PSI), which provides less rolling resistance. Use a lower pressure (5-10 PSI) for soft terrain like sand and snow, which provides more traction.
Can I use my regular bicycle pump?
Yes, you can use a conventional pump, but it is not optimal. Your regular pump is designed for high pressure and low volume. However, a fat tire is the exact opposite, as it requires high volume. Therefore, you will be pumping for so long that you will regret it. You require a pump that is specifically designed for fat bikes, or you should opt for a high-volume floor pump; it is worth the investment.
How can I avoid future flats?
Always ensure you check your tire pressure and that it is within the manufacturer’s recommendation before each ride. Under-inflation is the number one cause of flats; hence, it is crucial to have the correct pressure. Moreover, use tire liners. Tire liners are a thick plastic material that lies between the tube and the tire. Alternatively, use a quick self-repairing sealant within your tube. With that, you can confidently conquer any flat tire.