Dimension 1: Pre-repair Preparation & Tooling
Swapping to an EBC Electric Bike chain is simple and easy to do, avoids unnecessary expense, and can give your ride trails new life. A chain that is used beyond its recommended life can cause poor shifting, break, and/or prematurely wear expensive drivetrain components. This guide walks you through a straightforward, seven-step process to replace your e-bike’s chain in the comfort of your own home and make sure you achieve efficient, reliable performance out on the trail for miles to come. So let’s roll up our sleeves and get your hands dirty — and your e-bike performing like it used to.
Before you even start, preparation is everything for a clean and safe chain replacement. Hurry this step and you will get confused and make errors. The first thing you need to do is get an Electric Bike tool kit and know the parts of your Electric Bicycle. Keep everything at hand to decrease interruptions and make the workflow productivity to a maximum. Secondly, you have to measure your current chain and drivetrain to buy the right replacement one because not all chains will work with every e-bike. The work and tools are an initial investment that is paid off several times over.
What You Need Checklist:
- New Chain: Make sure it matches the number of gears (speeds) on your rear cassette.
- Chain Breaker Tool: This isn’t an option for taking off the old chain and sizing the new one.
- Master Link Pliers: Optional but recommended for easy removal and installation of link chains.
- Degreaser and Rags: To clean your hands as well as any components on the bike.
- Chain Lubrication: This is a must to ensure the new chain's optimal performance and its lifespan.
- Nitrile Gloves: To avoid getting your hands greasy and dirty.
Early E-Bike Review:
- Count Your Gears: What is the number of cogs on your rear wheel cassette? A 7-cog cassette requires a 7-speed chain.
- Determine the Link Style: Look at your old chain for a “master link” (designed as such so that it can be detached without any additional tools). If there's not one, buy a chain breaker tool, you will definitely need to push a pin out.
- Work Area Preparation: Place your e-bike in a repair stand or lean it against a solid wall to keep the bike stable. Turn off the power on the e-bike.
Aspect 2: The 7-Step Process Part I Unhooking the Old Chain
Now you are ready and your bike is prepared to start the removal. The first three steps here are about safely and neatly removing the old, worn chain from your e-bike. Be careful to choose the right gear before you do; this will take tension off the chain and make it a lot easier to manage. Regardless of whether you have a master link or need to use a chain tool, what we’re attempting here is to break one of the links nice and cleanly and remove the loop from the derailleur and chainrings.
-
Step 1: Assemble the Drivetrain.
The very first thing is to change gears on your e-bike so that the chain is on the smallest cog on the rear cassette, and also on the smallest chainring at the front if there’s more than one. This will slacken the chain and make it a lot more manageable.
-
Step 2: Find and Remove the Master Link.
If you have a chain with a master link, crank the pedals backward until it is positioned on the lower half of your chain, between the cassette and front chainring.
Master link pliers can be used on various links to squeeze the side plates together to allow the pin to be extracted. If you have no pliers, you may be able to pinch the outer plates together with your thumbs while bending the chain to free it. -
Step 3: Chain Breaker Tool (If no Master Link).
Without a master link, a chain breaker tool must be used to remove the chain. Place the tool over a standard chain pin.
Turn the handle on the tool to drive the chain pin through the chain links.
Important note: Push the pin just enough to separate the chain links but don't push it all the way out of the outer plate. This simplifies re-assembly if you have to use the old chain in a hurry. As soon as they are decoupled, gently guide the chain out of the drivetrain.

Dimension #3: Choosing / Sizing the New Chain

We use a rule of thumb that if your chain is worn to a median measurement (See chain gauge), the lost "length" will be between an eighth of an inch (3mm) and 1/4" (6mm) or so.
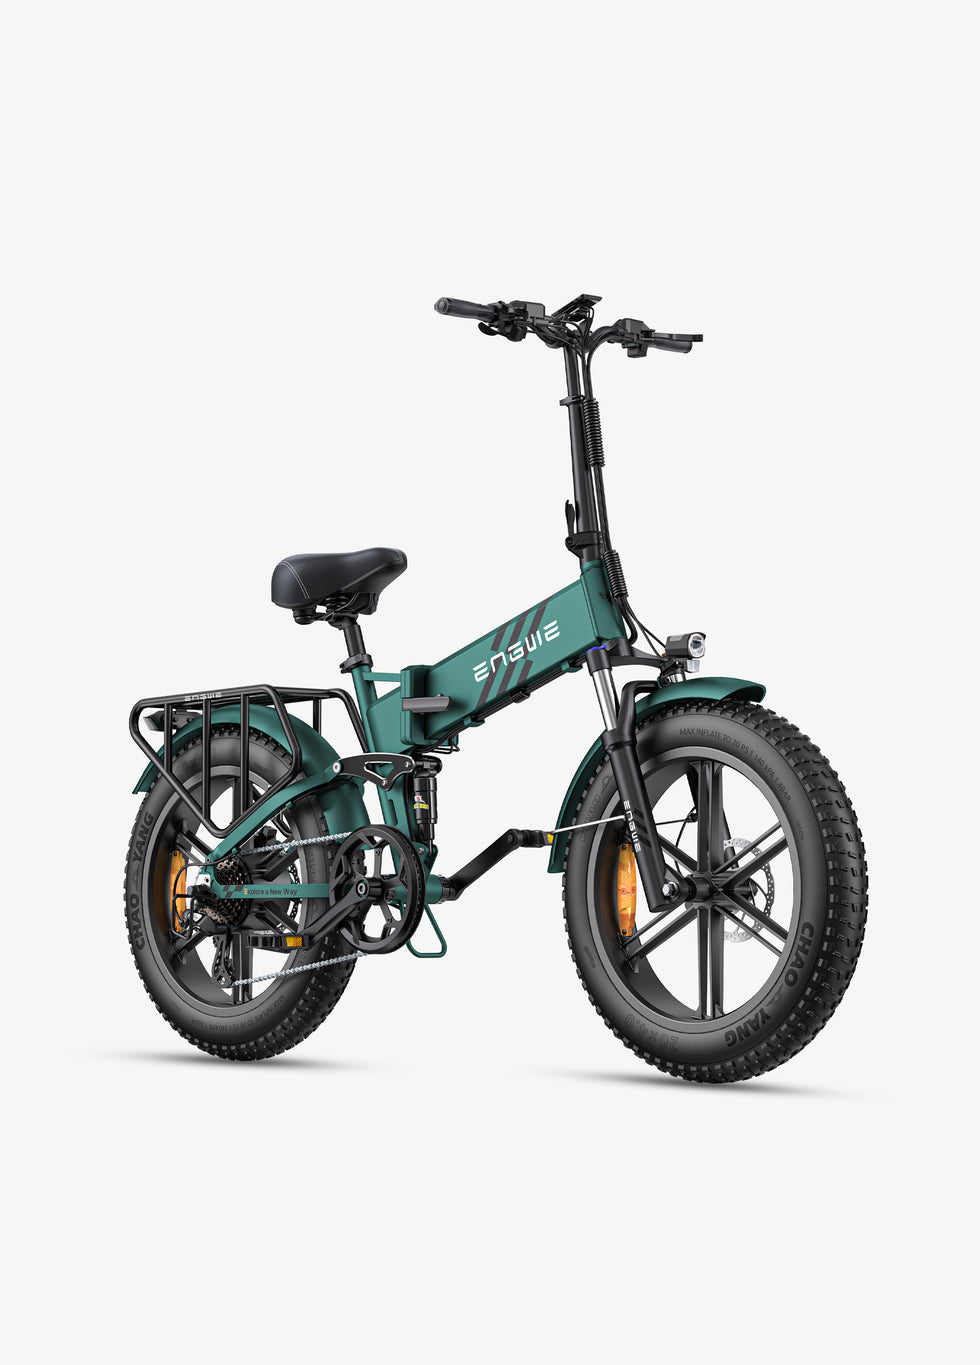
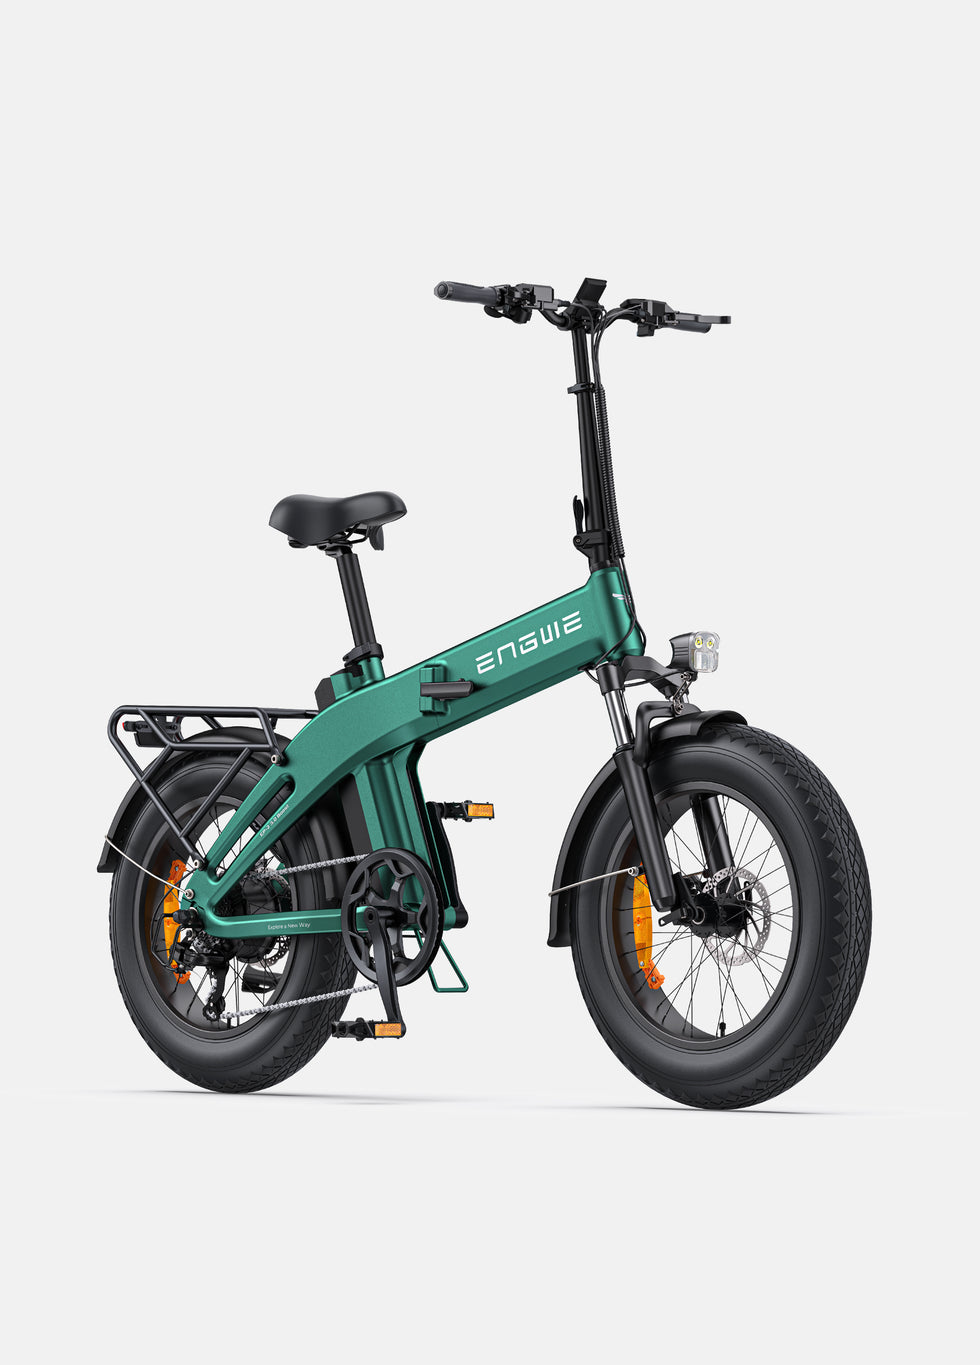
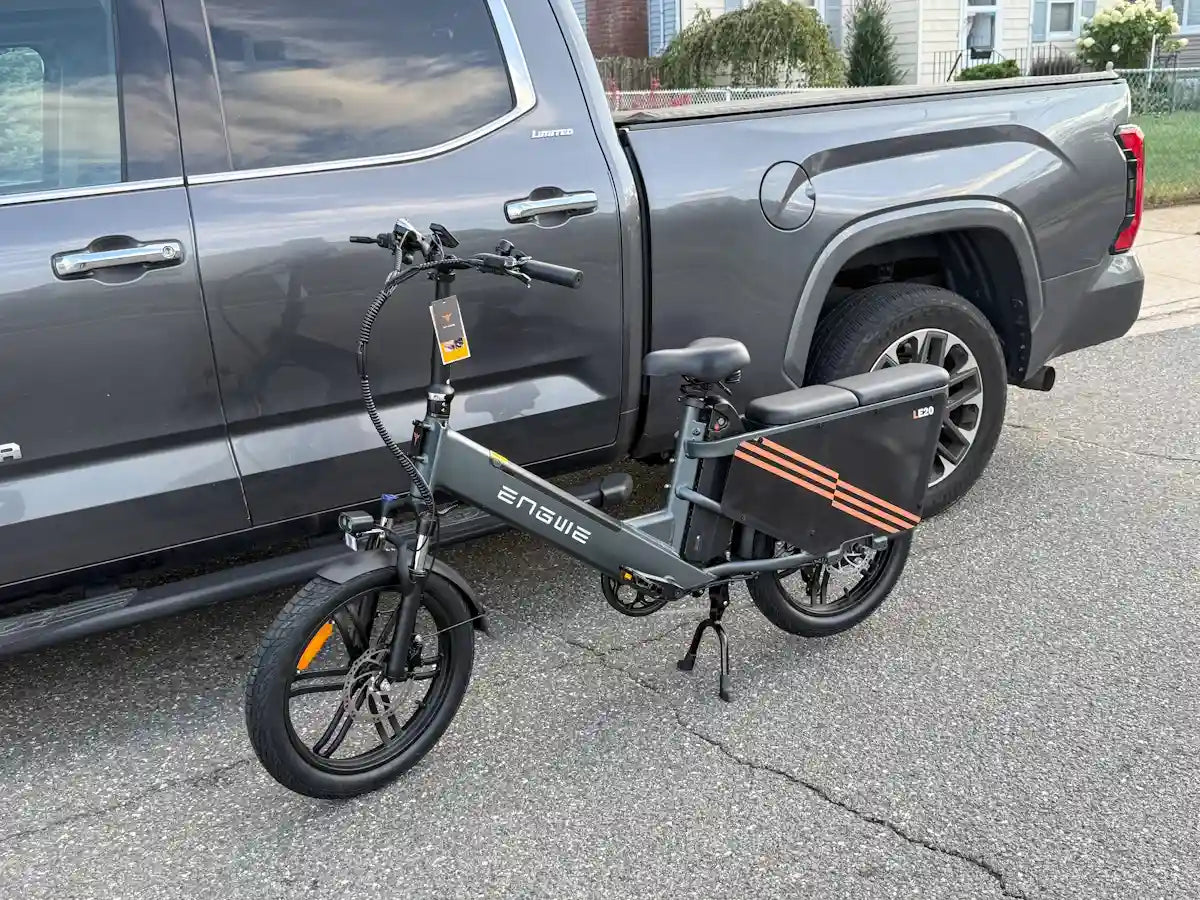
The right chain isn't simply a purchase; it's an investment in the performance and durability of your e-bike’s drivetrain. A good-quality, properly sized chain makes for crisp shifting and efficient power transfer – something all the more important on a punchy, grunty utility e-bike like this. For instance a quality "designer-style" eBike like the ENGWE L20 Boost is designed with peace of mind and high performance in mind. This seriously reliable eBike uses a Shimano 7-speed drivetrain which will last. The only way to fully enjoy it is by preserving it with appropriate parts. The L20 Boost features a state-of-the-art torque sensor to provide an exquisite riding experience, and a new chain keeps everything running smoothly as the power of the 250W motor (with 75 N.m ‘power-boost’ button) flows perfectly from it. To complement its incredible 126 km range, you will need a chain that not only has mechanical strength but is also the optimal size for your bike to deliver more efficiency.

How to Choose the Chain:
- Match the Speeds: The biggest thing to worry about when choosing a chain is making sure it's the right speed for your e-bike. The ENGWE L20 Boost uses a 7-speed configuration and therefore it needs a 7-speed chain. If the chain is too wide, your bike will shift poorly and you’ll hear a lot of grinding.
- E-Bike Specific Chains: E-bike specific chains are typically not required for hub-drive motors but are constructed to be stronger and can handle higher torque, a great option if you’re focusing on longevity.
How to Size the Replacement Chain:
- Method 1 (Easiest): The Old Chain Comparison. Lay the old chain flat next to the new chain. Use your chain breaker to remove links from the new chain, making it the exact same length as the old one. This is the surest way if the old chain was a good fit.
- Method 2 (Most Accurate): The Big-to-Big Method. You can skip this part if you don't have the old chain: With the old chain removed, route the new one over the largest front chainring and largest rear cog, omitting the derailleur. Draw the two ends taut, and identify the spot where they cross. The proper length is this measurement plus one full link.
The 7-Step Process Part II - Fitting the New Chain
With the new chain cut to its proper length, it’s time to install it. These last four steps here are about the correct routing of the chain through the maze that is the rear derailleur and making sure there is a connection between both ends. This is the part where detail matters immensely. One of the most common reasons that your e-bike won’t shift is because you’ve routed the chain incorrectly in the derailleur. Spend some time double-checking your work to make sure everything is perfect and that the master link is fully inserted so it doesn’t come apart while you’re riding.
-
Step 4: Route the New Chain.
Wrapping from the front, wrap the chain around the frontmost cogs.
Feed the chain back up and over the top jockey pulley of the rear derailleur, and then down and around the lower jockey pulley. Sometimes there is a little tab between the two pulleys, and the chain needs to go on the proper side.
Finally, route the chain over the top of the smallest cog on the cassette. -
Step 5: Link Up the Chain Ends.
Gather the two ends of the chain. Insert the master link pins through each end.
Push the outer plate down over the pins with your thumb. -
Step 6: Lock the Master Link.
Pull both ends of the chain toward each other so the master link is tight. You should clearly hear and feel a clunk when the link locks in perfectly.
Pro-Tip: For even more insurance, take this time to also rotate your pedal so that the master link is sitting on the top run of your chain and push down securely onto your pedal as you hold the back brake. This will drive the link home. -
Step 7: Lube the New Chain.
New chains are coated with a sticky, factory lubricant. You're best off wiping it away and using a good chain lubricant. Apply a drop to each roller, wait a few minutes and then wipe off all the excess lube you can with a clean rag.
| # of Rear Cogs (speeds) | Required Chain Type |
|---|---|
| 7, 8 | 7/8-speed chain |
| 9 | 9-speed chain |
| 10 | 10-speed chain |
| 11 | 11-speed chain |
| 12 | 12-speed chain |
Impact #5: Post-installation checks, troubleshooting and product recommendations
You’re not done once the chain’s linked. A couple of quick tests will confirm the job has been well done and prevent any issues on your maiden voyage. Appropriate regular maintenance will also extend the life of your chain and drivetrain. If you forget your chain, it will wear out quickly and you will do this all over again far sooner than you'd like. Preventive maintenance is the best way to protect your investment and keep your E-Bike rolling along smoothly. Lastly, using good quality products for such jobs eases and quickens the job.
Post-Installation Checklist:
- Gently backpedal: The chain should move easily, with no binding or jumping.
- Lift the back wheel: Turn the pedals forward gently with your hand and shift through every gear one by one (in both directions). Gear changes should be sharp and snappy.
- Listen closely: Listen for any clicking, grinding or rubbing noises as they could suggest improper routing, or a stiff link.
Long-Term Maintenance Tips:
- Keep it clean: Clean your chain every 150-200 miles with a degreaser and brush, or more often if you are riding in wet or dusty conditions.
- Lubricate Wisely: Once clean, be sure to apply a quality chain lubricant. Don't forget to wipe off the excess so as not to attract dust.
- Measure the Wear: Invest in a basic chain wear indicator tool. This device shows you exactly when your chain is worn and should be replaced which helps to avoid damage to your cassette and chainrings.
The Best Chain Maintenance Product Recommendations from Chain Experts
- Chain Breaker Tool: Park Tool CT-3.3 is a shop-quality tool. Used by professional mechanics worldwide, it delivers professional quality at a home mechanic price and is easy to use for removing and installing chain pins.
- Chain Lubricant: Finish Line Dry Lube is great for dry and dusty conditions while Squirt Long Lasting Chain Lube is a great wax-based option that keeps the chain super clean.
- Degreaser: Muc-Off Bio Drivetrain Cleaner is an incredibly effective degreasing formula that removes all oil, wax and grime quite literally in seconds!
Frequently Asked Questions
-
Q1: How often should I replace my e-bike chain?
A: It will depend on the riding conditions and power level, but every 1,500 to 3,000 miles is a good rule of thumb. The ideal way is to use a chain wear indicator tool for precise measurement. -
Q2: Can I use a regular bike chain on my Electric Bike?
A: You should be fine with a standard high-quality chain that’s appropriate for the number of speeds on most hub-drive e-bikes. For high-torque mid-drive e-bikes, consider using an “e-bike specific” chain since it is made to take more load. -
Q3: What is the most common error when replacing a chain?
A: The most common reason for it not engaging is that you didn't thread the chain correctly through the two pulley wheels attached to the rear derailleur. Always verify that the chain is following the correct path around them before connecting it.
Armed with these steps and tips, you have the tools to take care of one of your e-bike’s most crucial components.